When inspiration strikes, we often crave the freedom to bring our most unconventional ideas to life – no matter how abstract or vague they may be. That’s precisely what these funky nail art designs offer: a platform for creativity to flourish and create visually striking masterpieces that defy conventional norms.
This post showcases some of the most outrageous, yet mesmerizing, nail art designs that transcend seasonal boundaries and are sure to captivate your imagination.
With their bold, eclectic flair, it’s no wonder why they’re a fan favorite among nail enthusiasts.
Coolest Nail Art Designs For A Funky Look
Explore these 50 trendy and visually striking abstract nail art designs that are dominating the beauty scene this year. While some may seem intricate, many of these designs are surprisingly simpler than they appear, making them perfect for those with decent brushing skills. With a little practice, you can achieve stunning results that will impress even the most discerning eyes. Take a look and indulge in the creative possibilities!
Do’s And Don’ts Of Nail Art
To kick off your funky nail journey, start by maintaining healthy nails. Begin by washing your hands and exfoliating your skin to remove any dirt or oils that may interfere with the nail care process. When it comes to handling your nails, be gentle and avoid using aggressive tools that can cause damage. Always read the instructions before using a new tool to ensure you’re using it correctly. When it comes to choosing nail polish and tools, prioritize quality over quantity.
Invest in high-quality products that are designed for nail care, as they will help prevent damage and promote healthy growth. While daily polishing may be tempting, it’s not necessary or healthy for your nails. Instead, aim to take off your nail color every now and then and give your nails a chance to breathe. Now that you have the basics down, it’s time to get creative! Funky nails are all about experimentation and self-expression, so don’t be afraid to try out different shapes and designs.
From coffin-shaped nail art to almonds, squares, ovals, and squovals, there’s a shape out there for everyone. To help you create these looks, you’ll need the right tools, including manicure tweezers, nail art tape, thin-tip brushes, topcoats, polish correcting pens, and dotting tools.
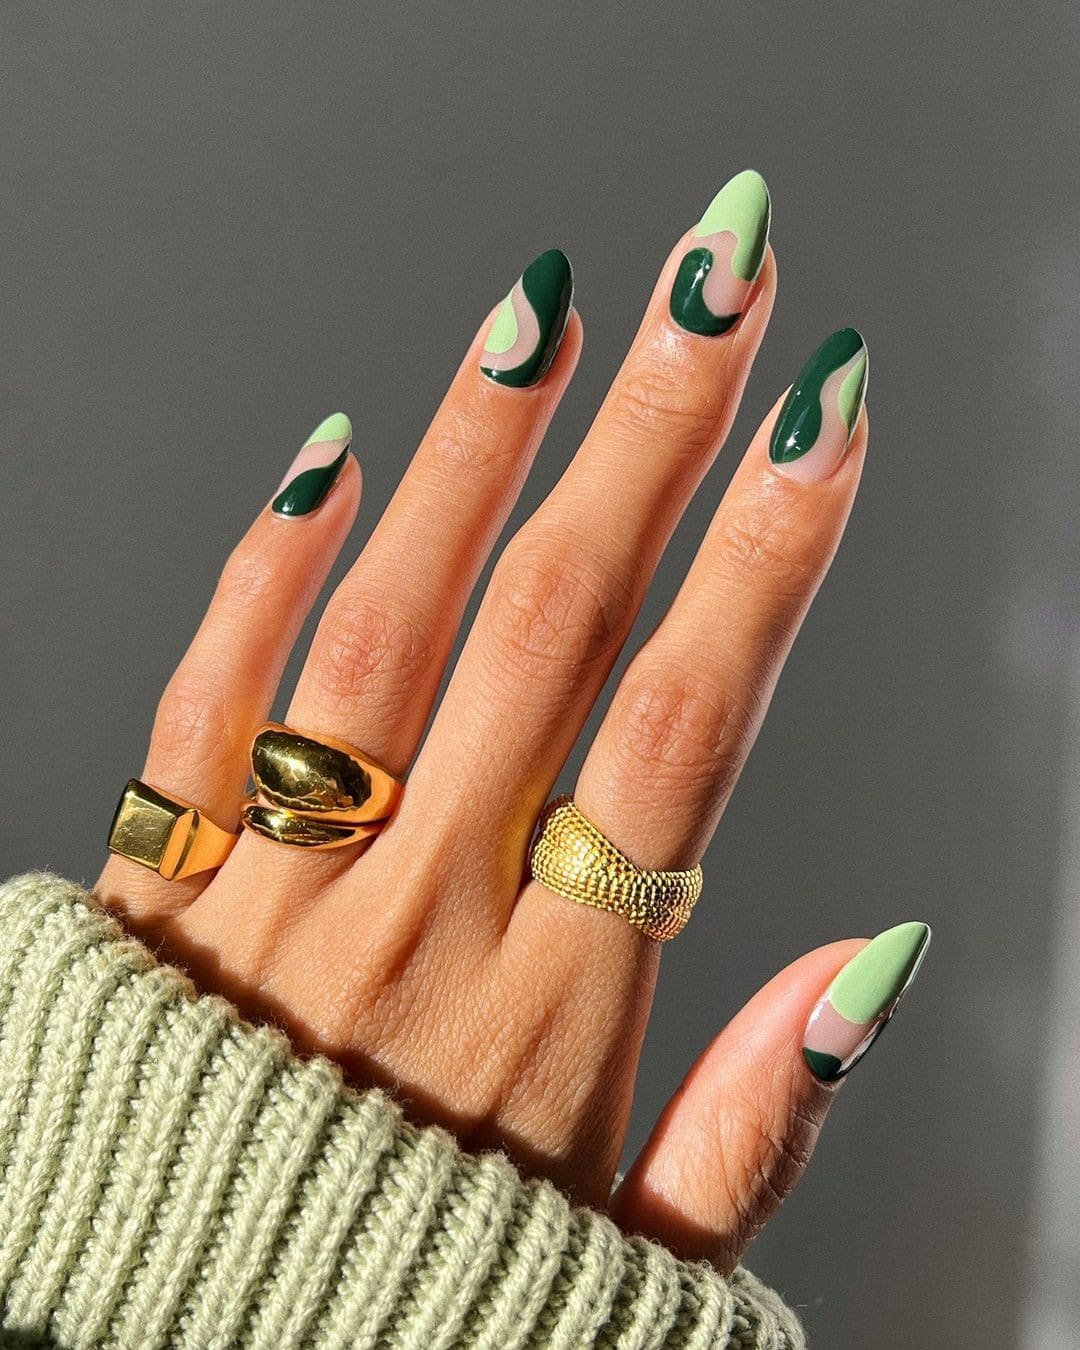
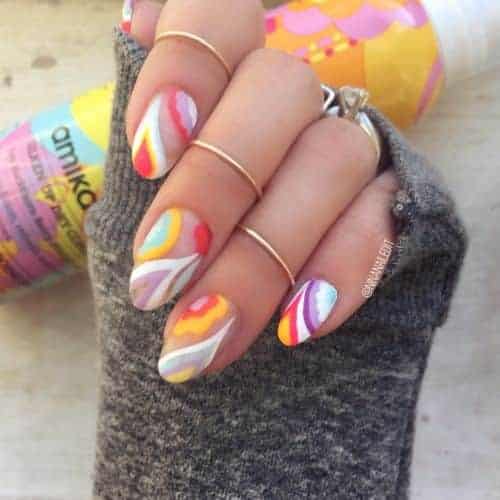
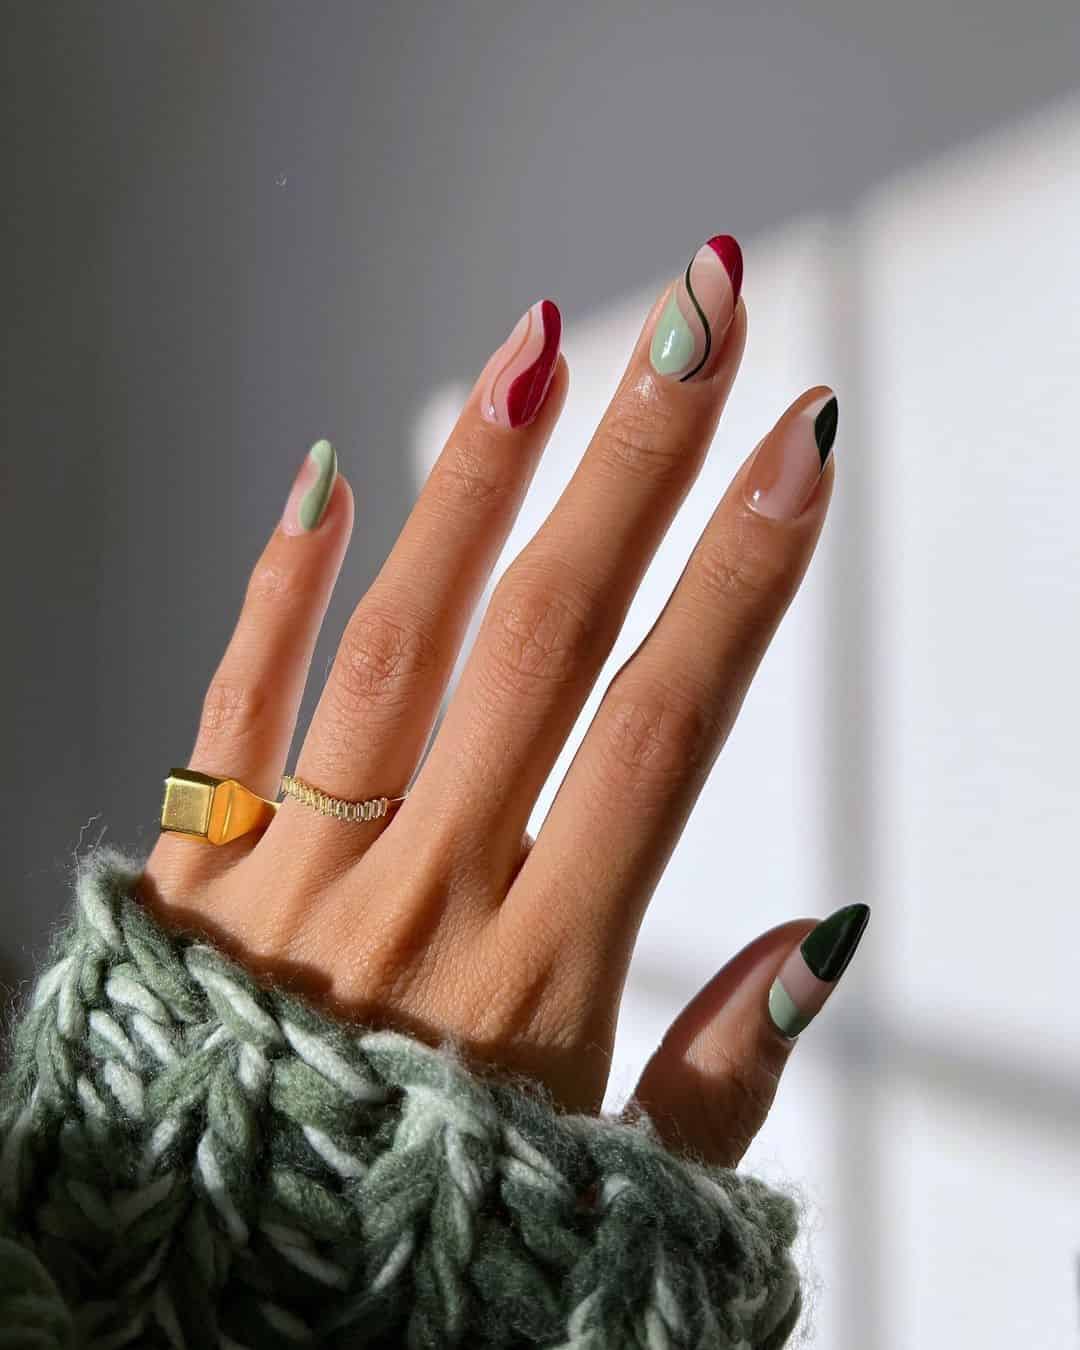
50 – Green Swirls
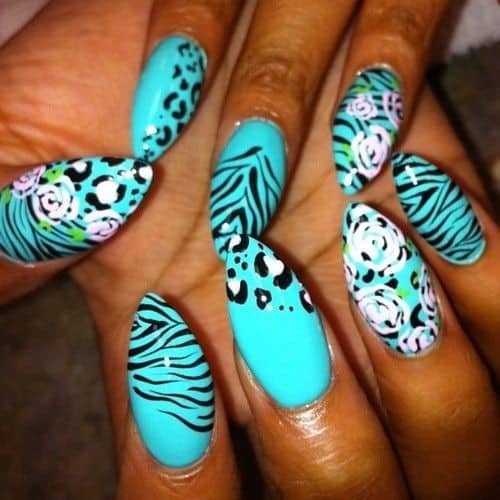
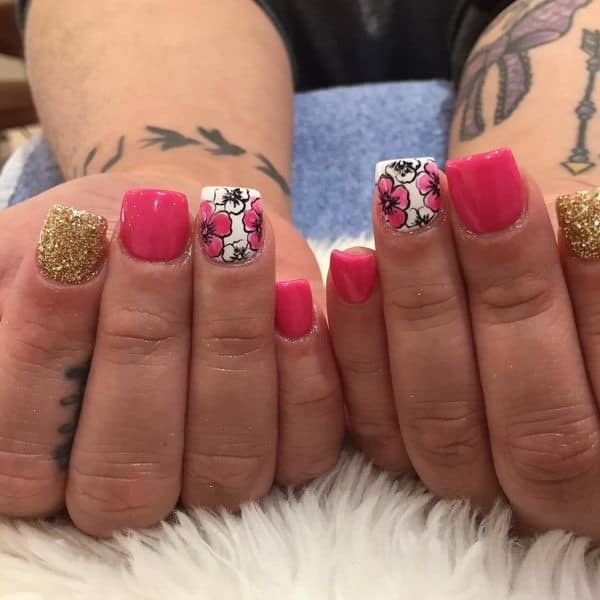
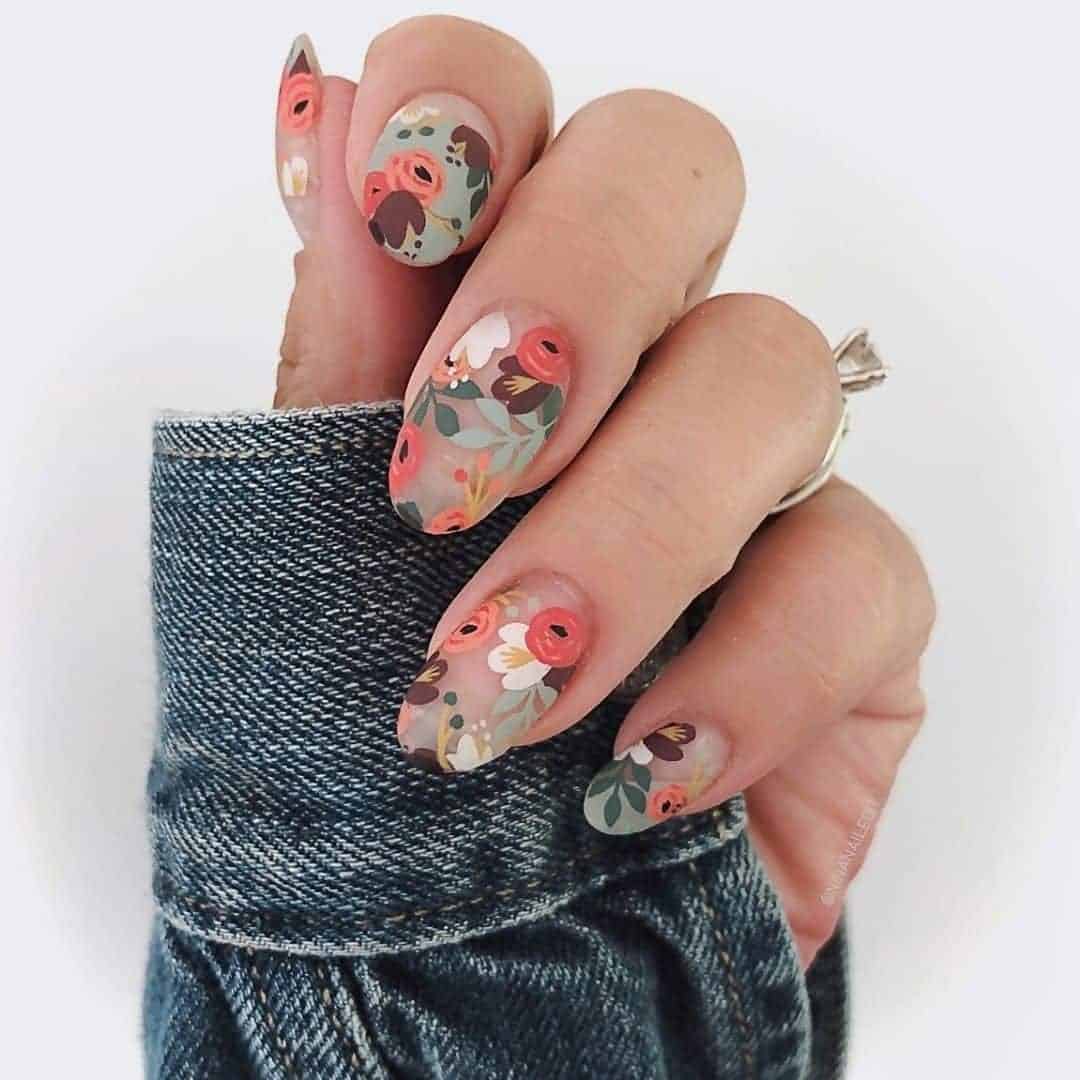
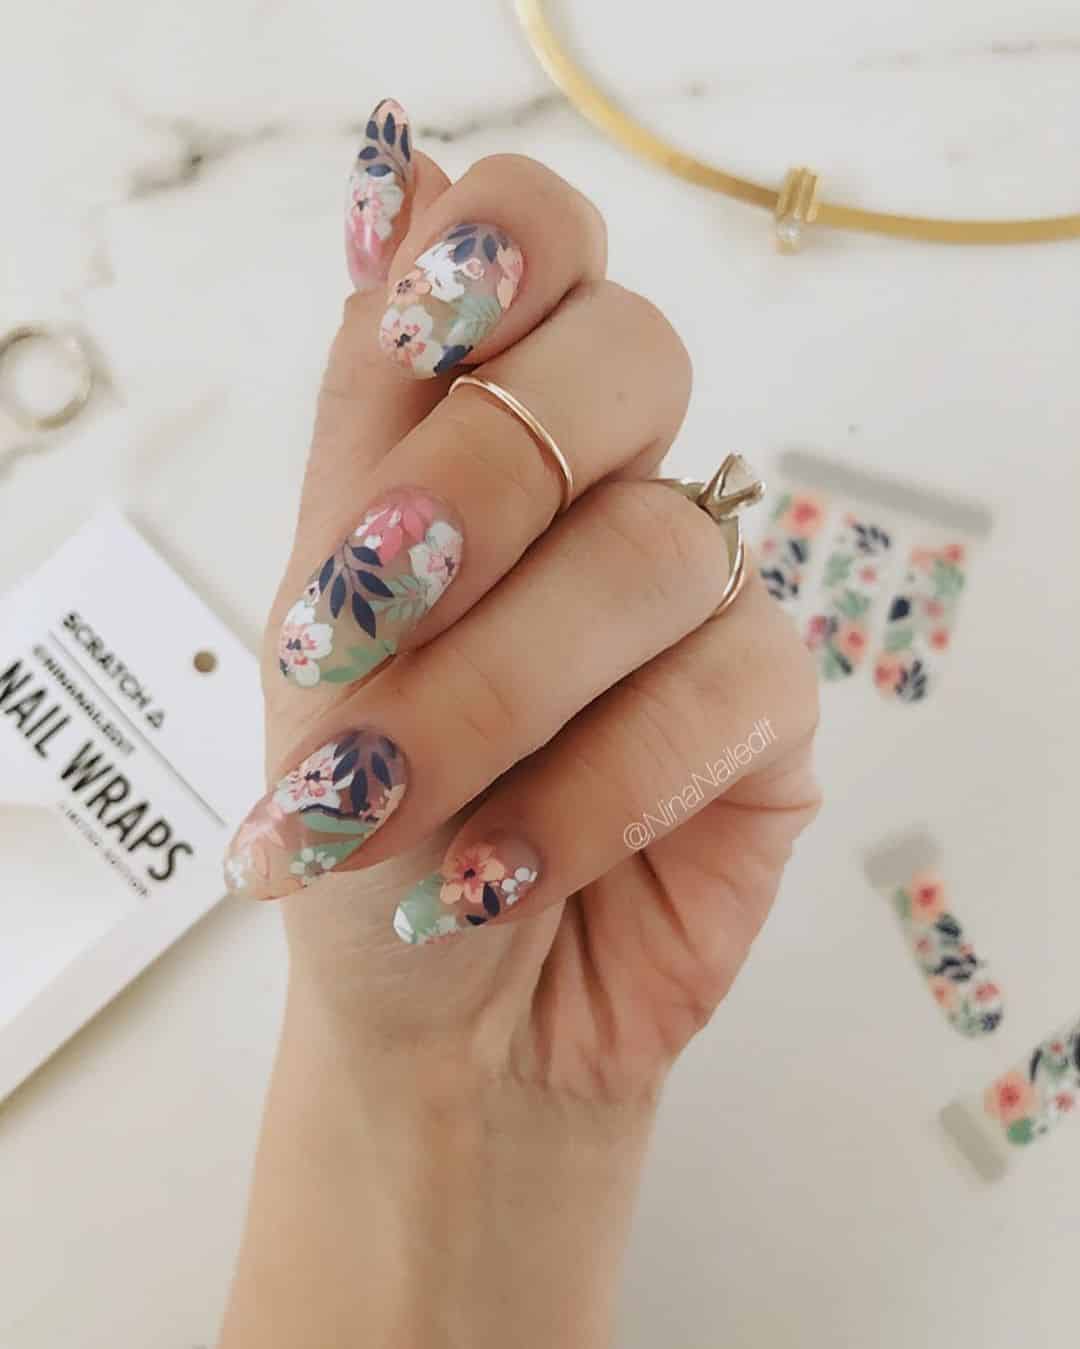
49 – Floral Printed Nails
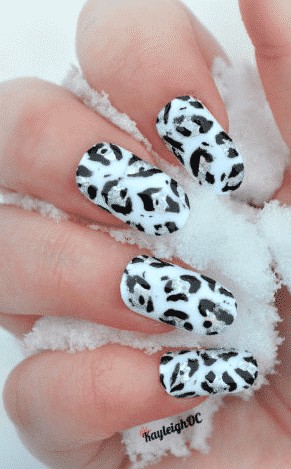
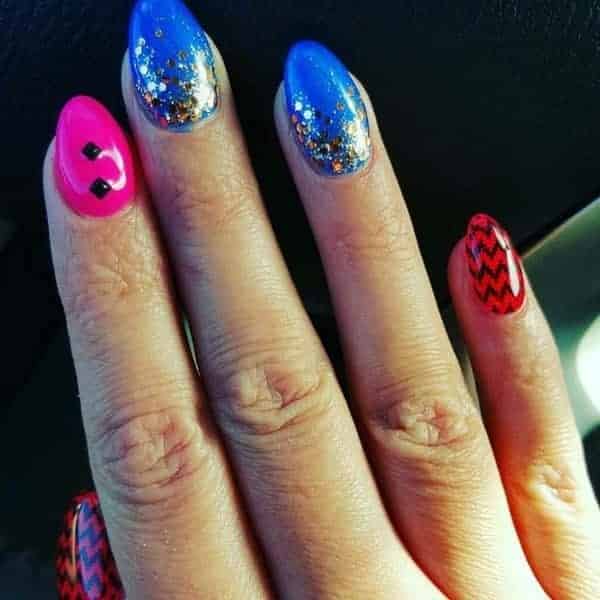
48 – Blue Zebra Print Nails
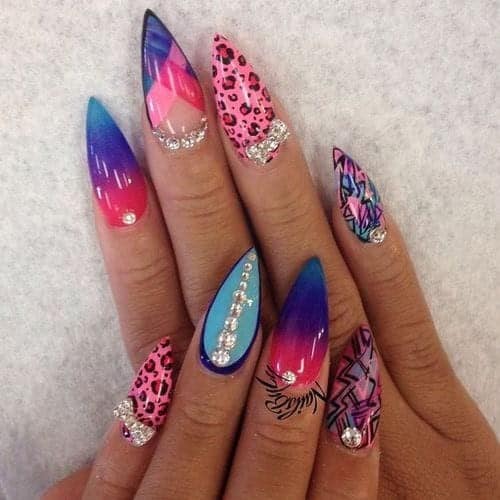
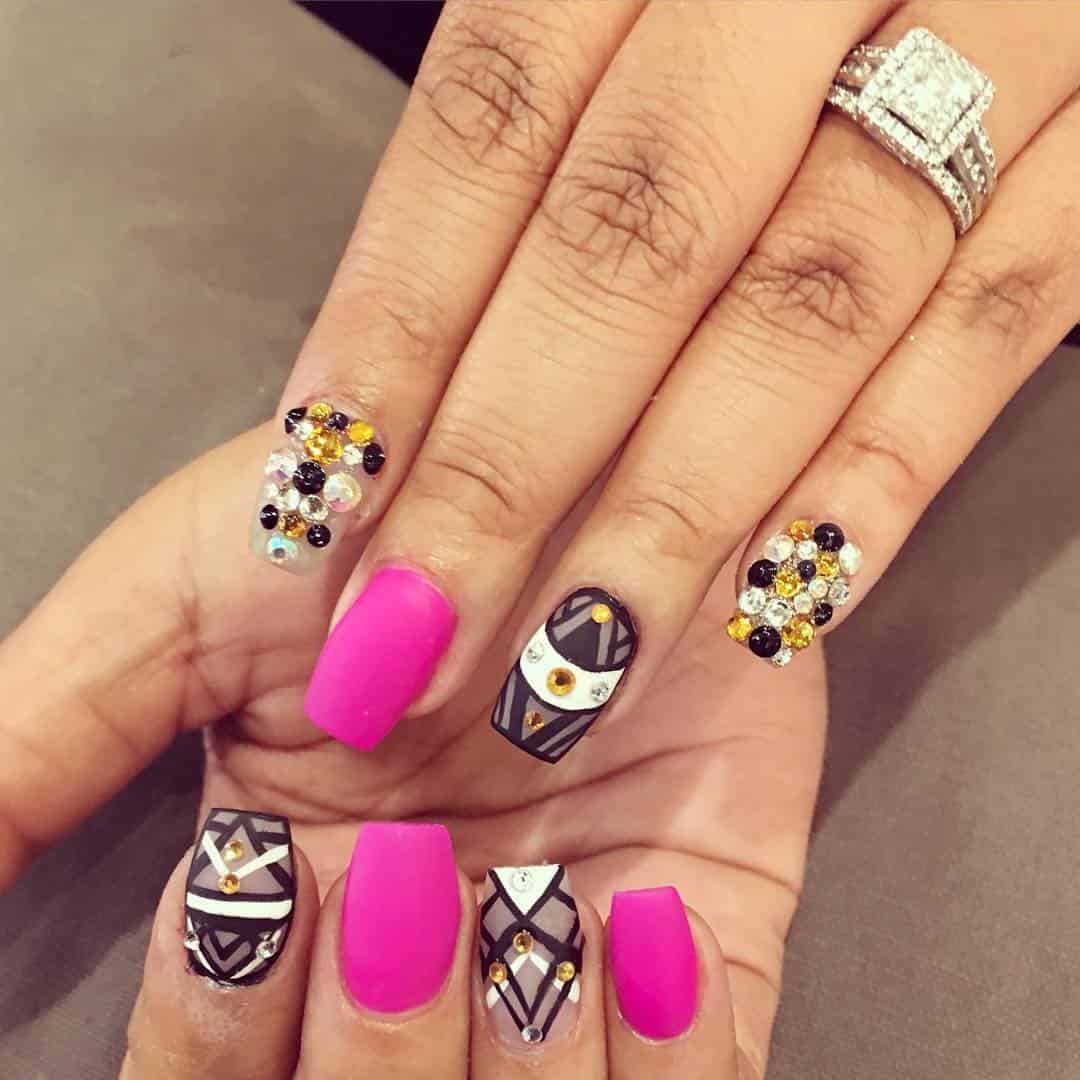
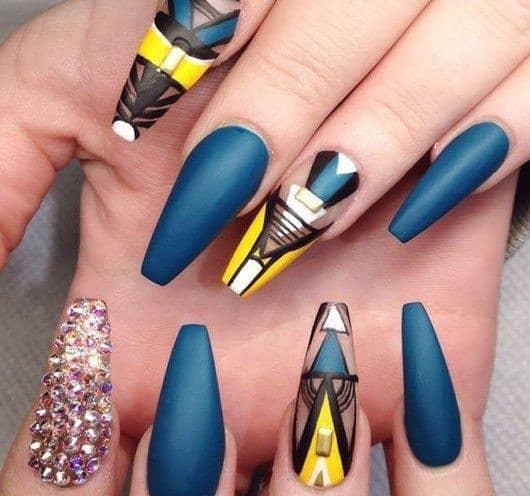
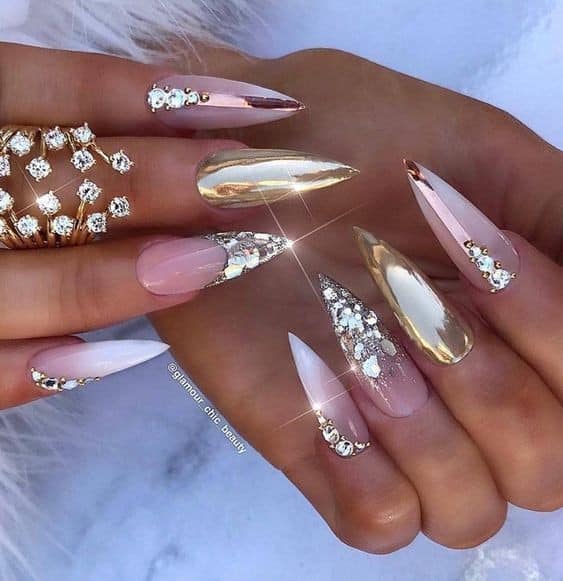
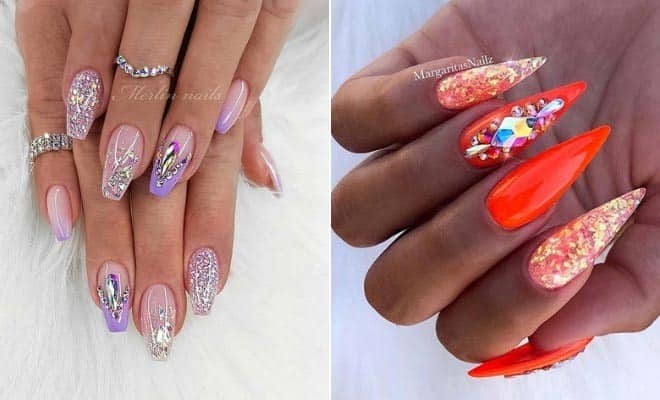
47 – Rhinestone And Exotic Nails
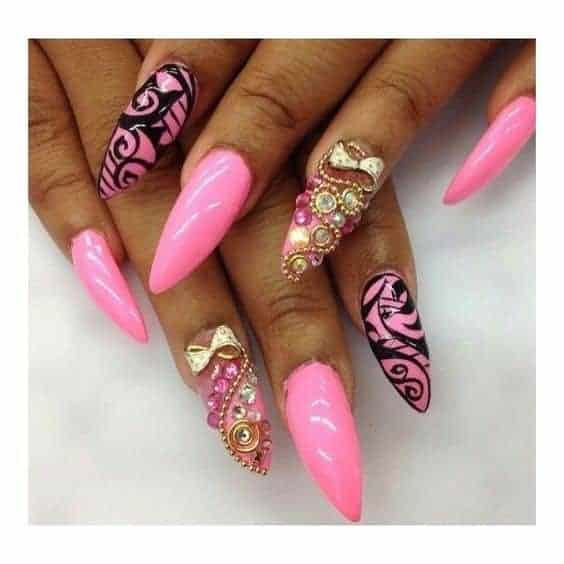
46 – Pink Rhinestone Nails
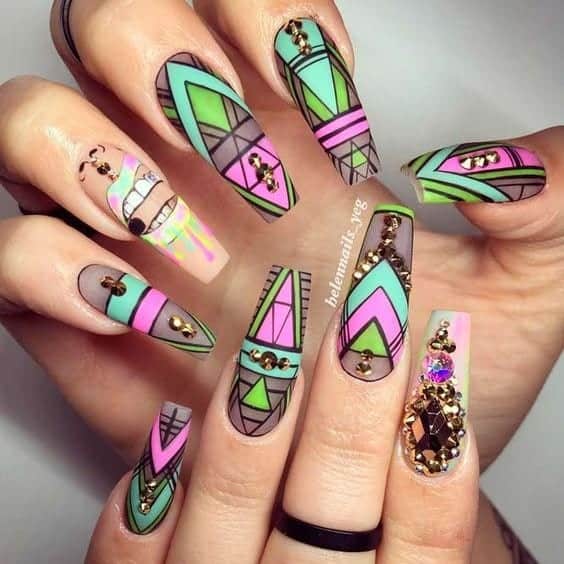
45 – Aztec Nails
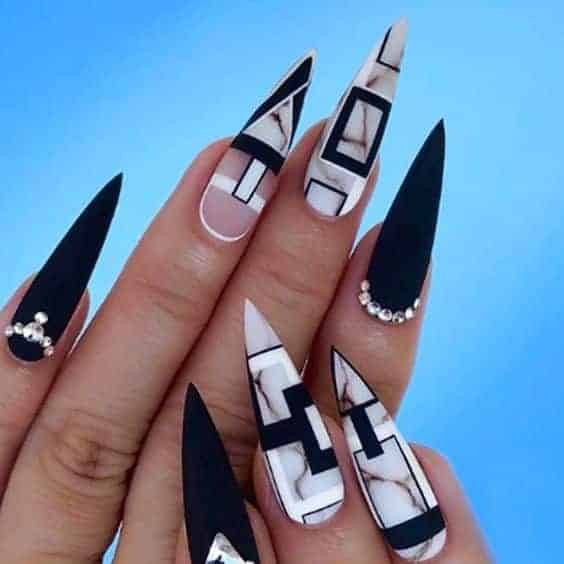
44 – Beautiful Black And White Nail Art For Long Nails
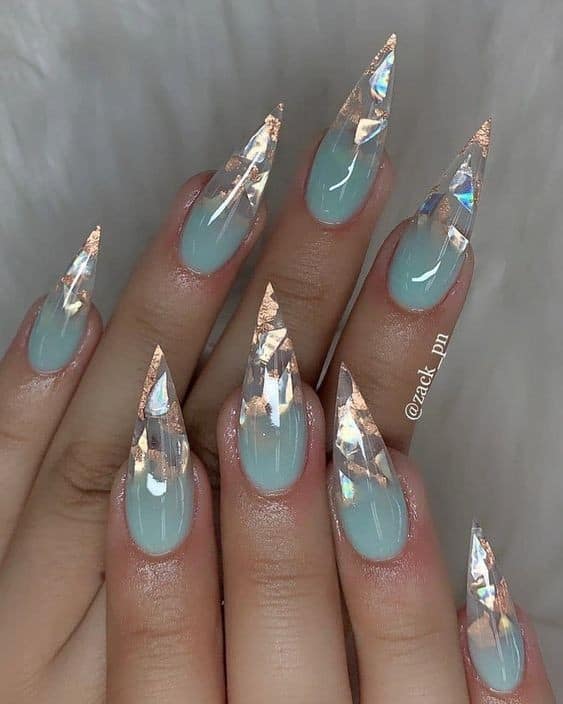
43 – Clear Marble Nail Art
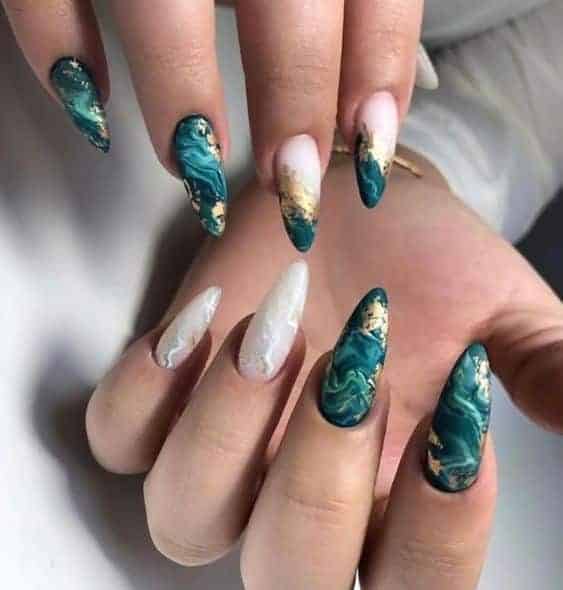
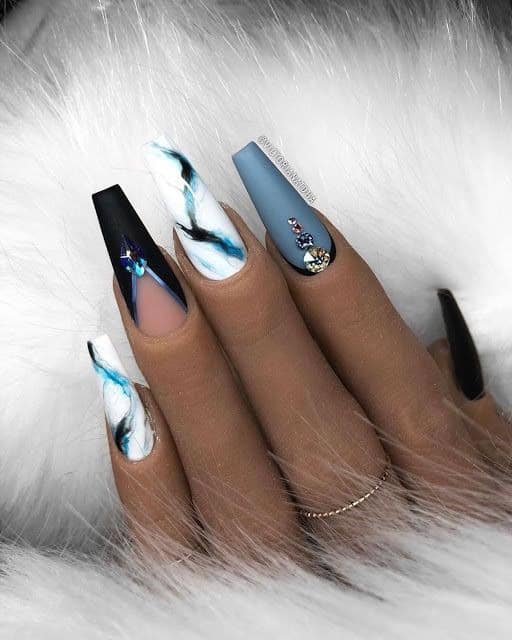
42 – Marble Nail Design
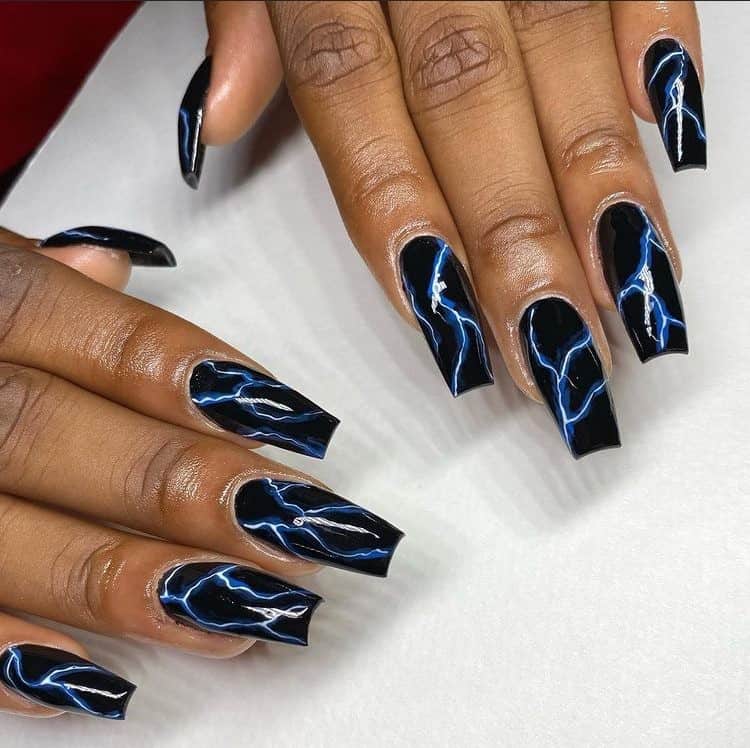
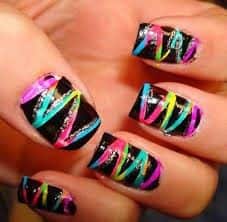
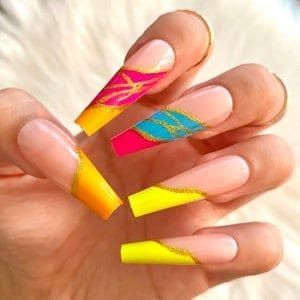
41 – Lightning Nail Art
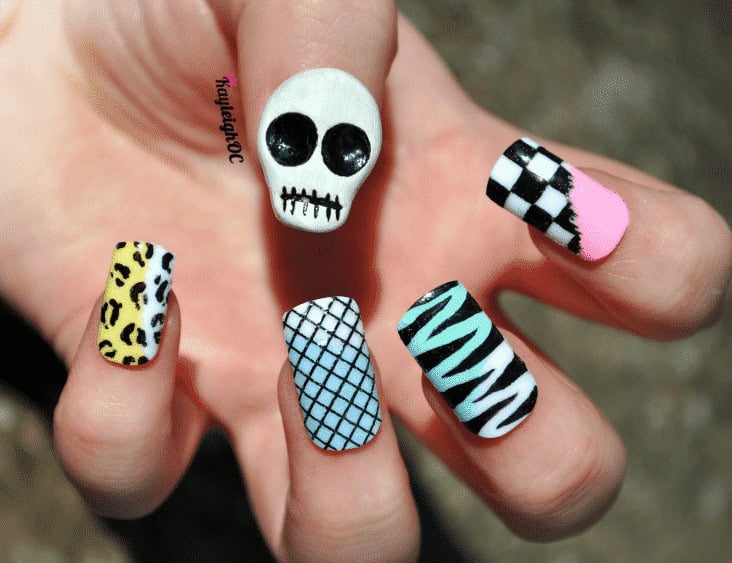
40 – Funky Nail Art For Short Nails
39 – Best Halloween Nails
38 – How To Make Cow Print Nails Without Tools?
To achieve the desired cow print effect, begin by applying a thin layer of white nail polish and allowing it to dry completely. Next, add an additional coat of the same polish, ensuring an even layer. For the black design, remove any excess polish from the brush before starting to create small, random shapes on the edge of your nail. Gradually move towards larger shapes, incorporating a mix of both small and big designs to replicate the natural randomness found in cow prints.
To avoid a uniform look, be sure to scatter the shapes randomly across the nail rather than creating a linear design. Once the nail art has dried, seal it with a topcoat to add a smooth, glossy finish.
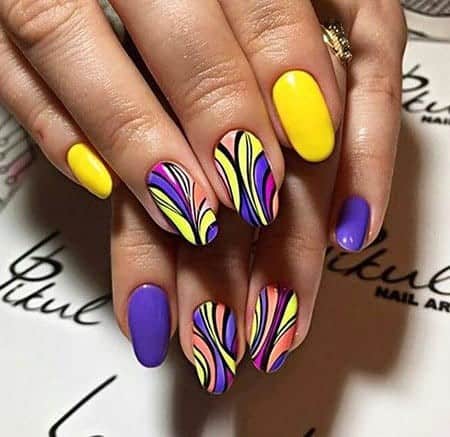
37 – Colorful Nail Art Designs
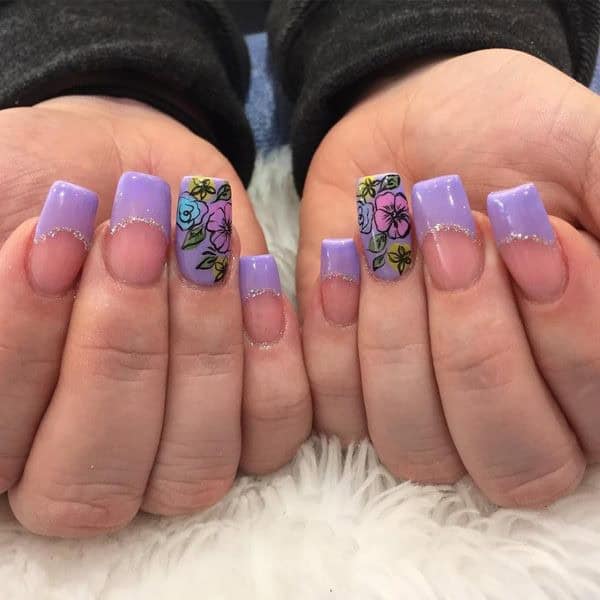
36 – Purple Nail Art With Floral Prints
35 – Vibrant Nail Art For Oval Shape Nails
34 – Classy Nail Design
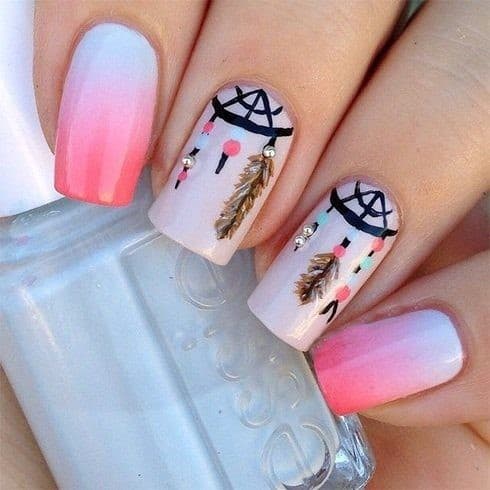
34 – Dreamcatcher Nails With Pink Ombre
33 – Glitter And Printed Nail Art For Short Nails
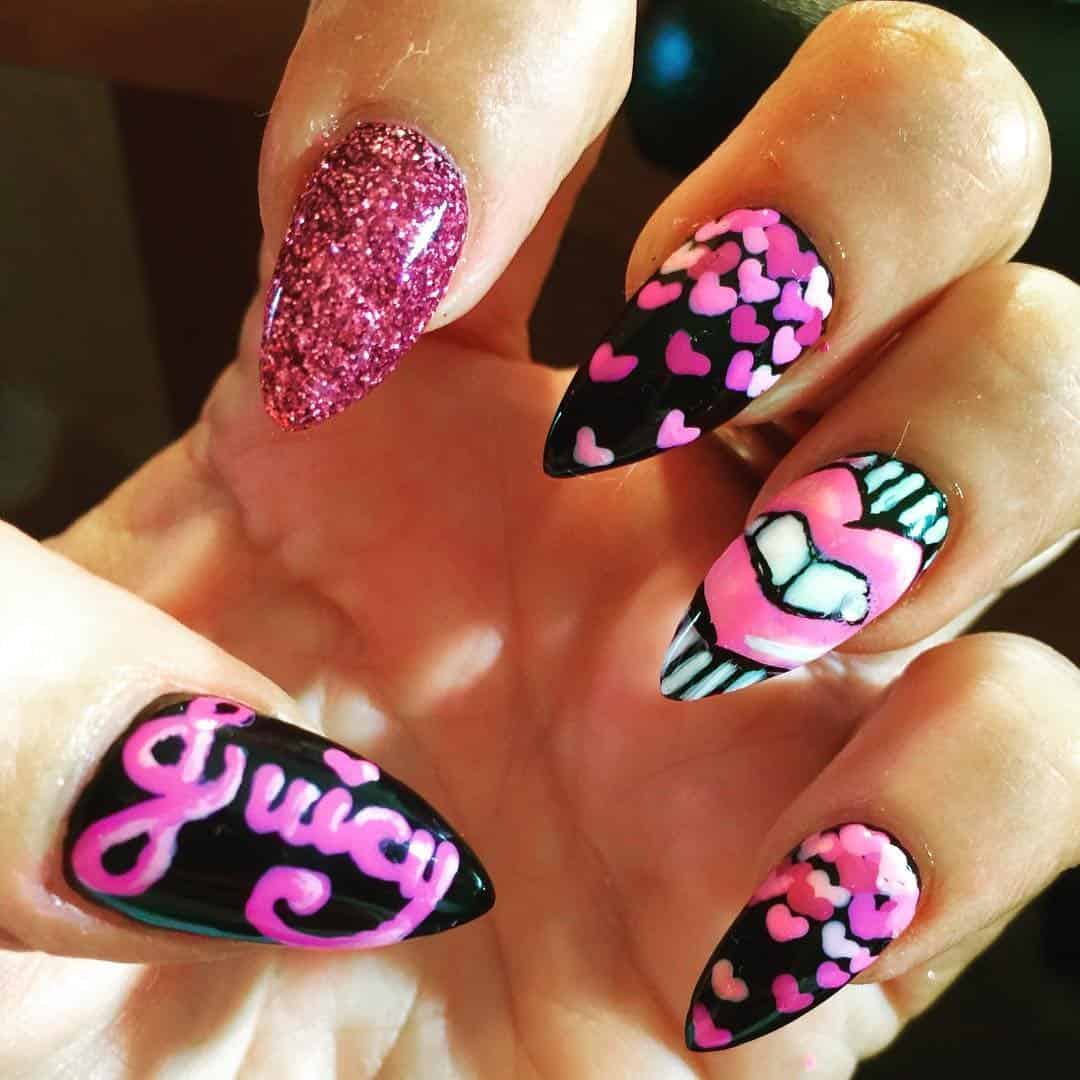
32 – Glitter Heart Manicure
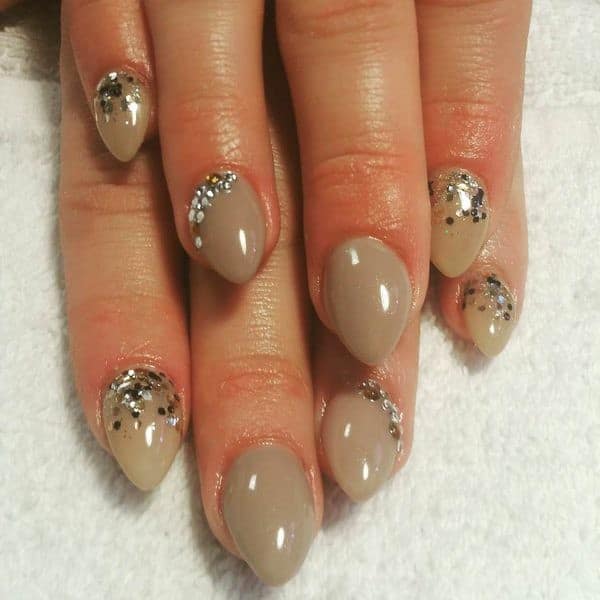
31 – Nude Glitter For Almond Nails
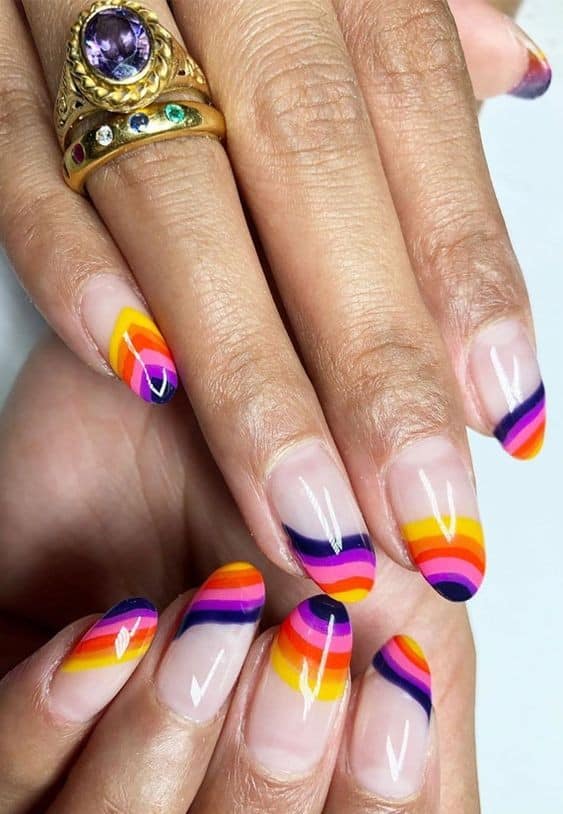
30 – Rainbow Nail Tips
29 – Embellished Marble Nail Art
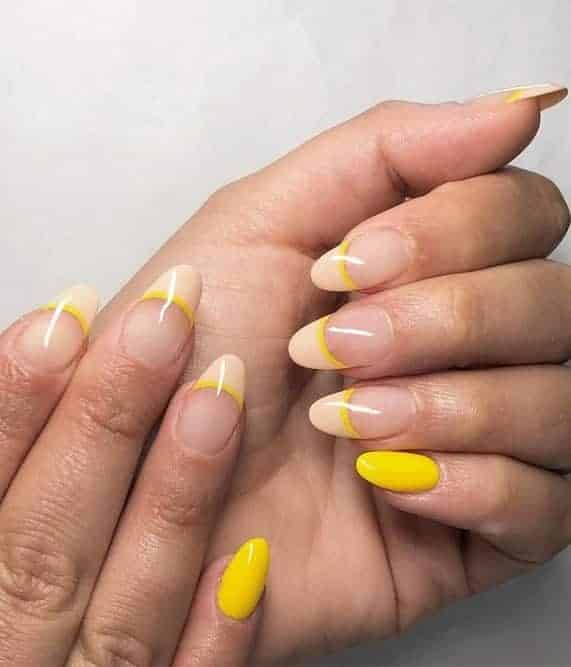
28 – Yellow Manicure To Brighten Up Your Day
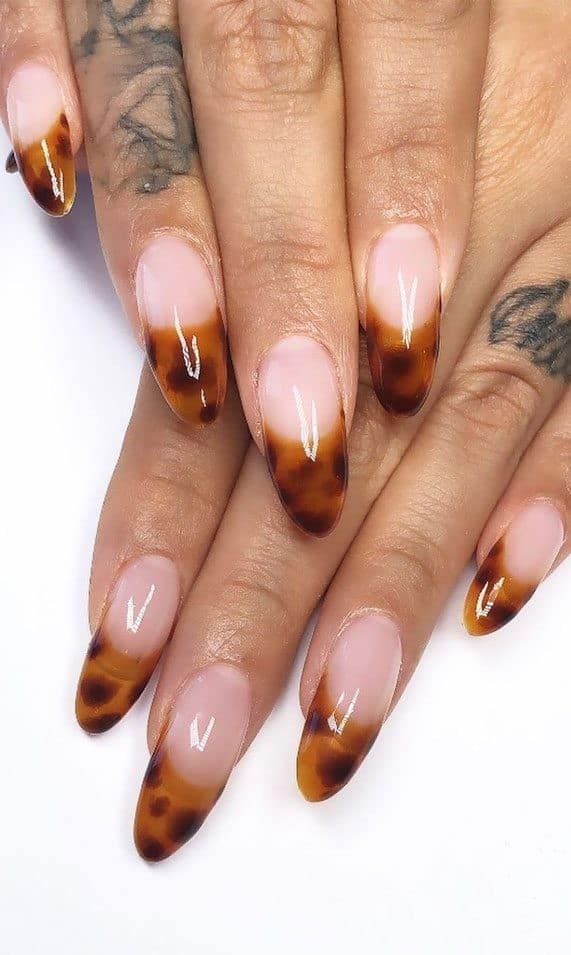
27 – Tortoise Shell Inspired Nail Tips
26 – Vivid Colors For Summer
25 – Pastel Flowers
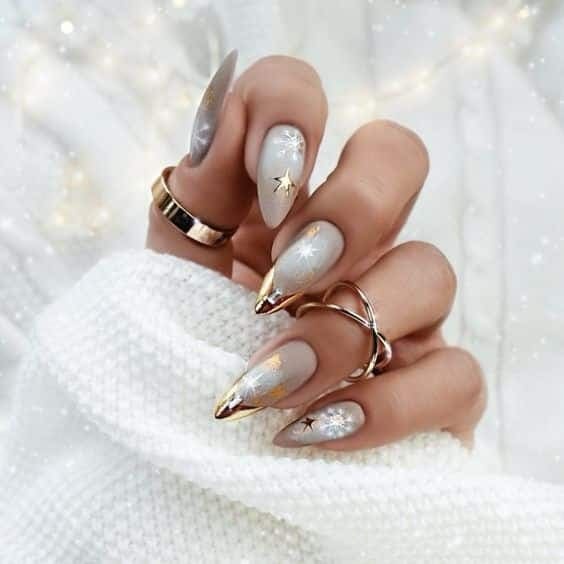
24 – Gleaming Nails
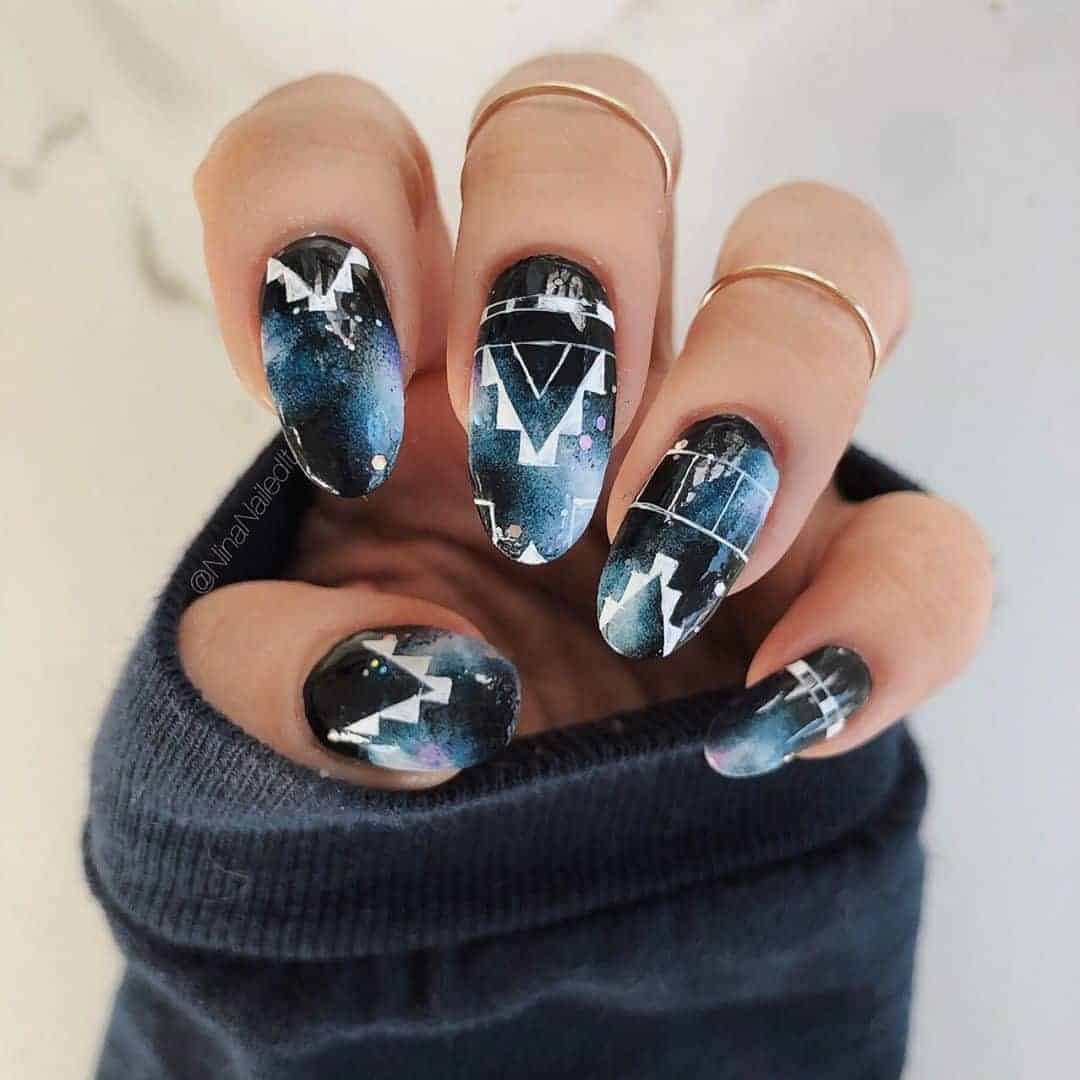
23 – Galaxy Nails
22 – Shades Of Pink!

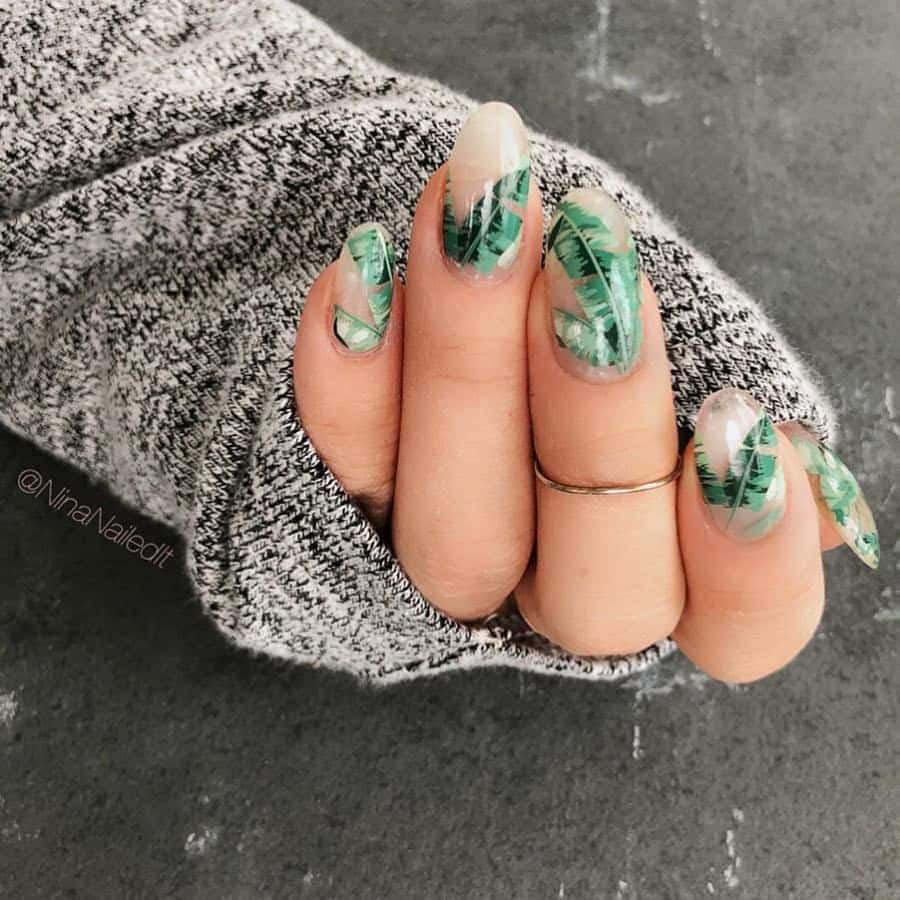
21 – Tropical Inspired Nails
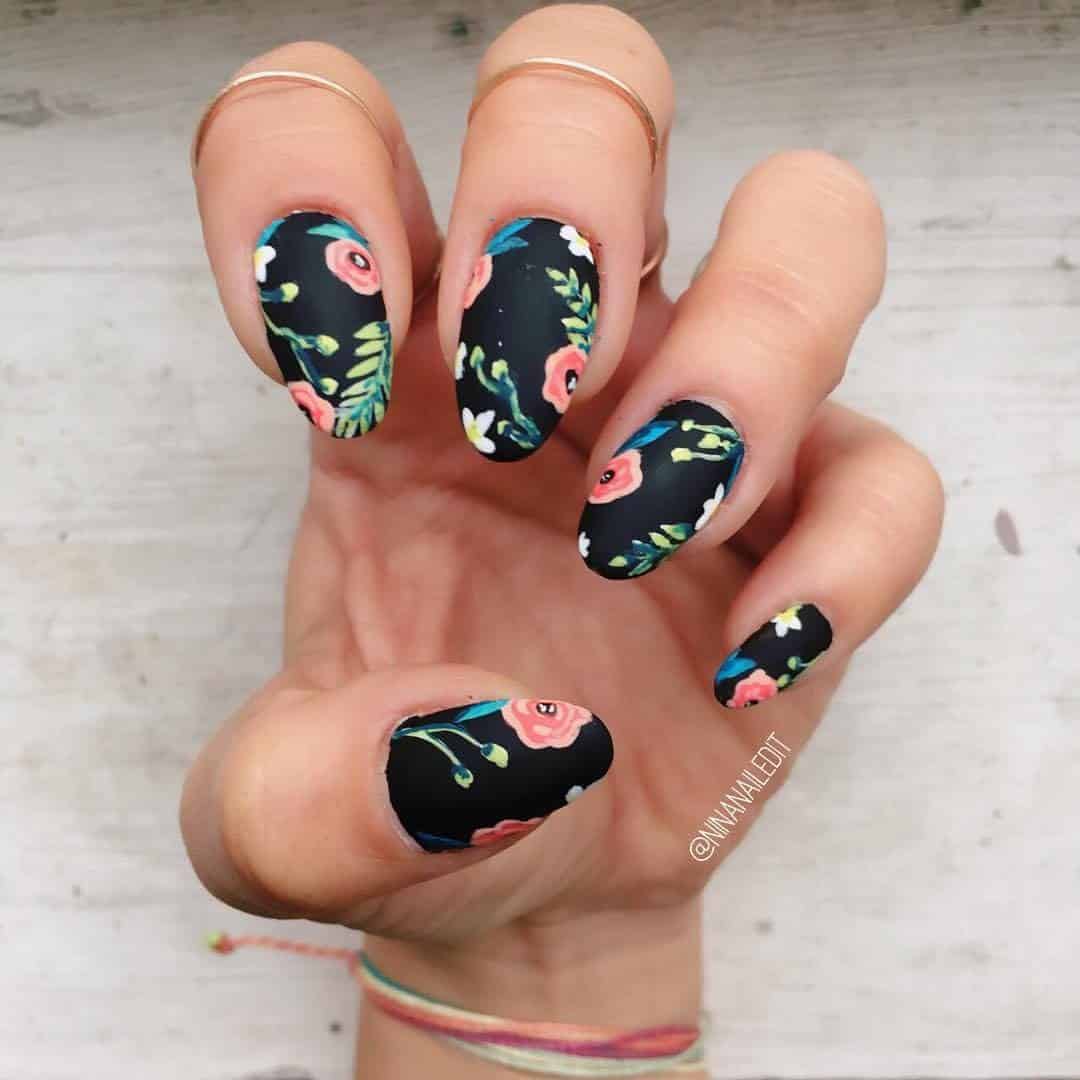
20 – Floral On Black
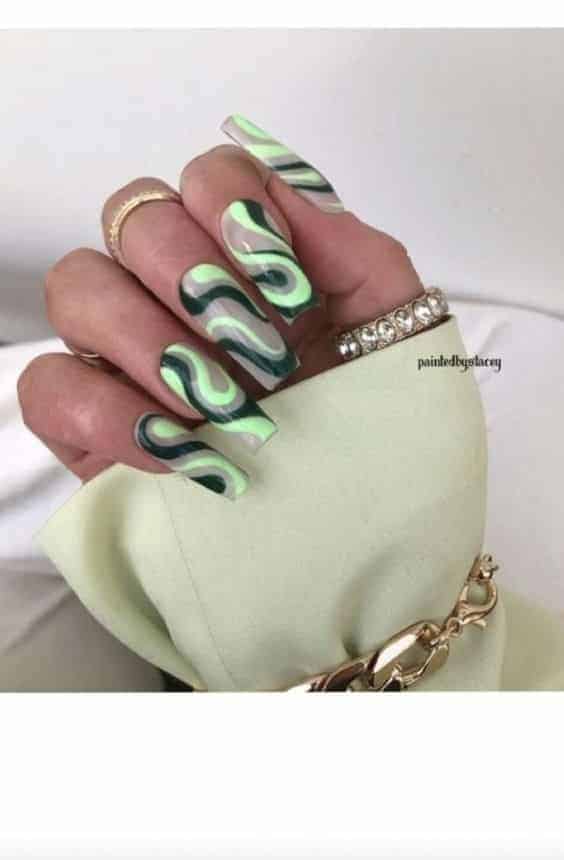
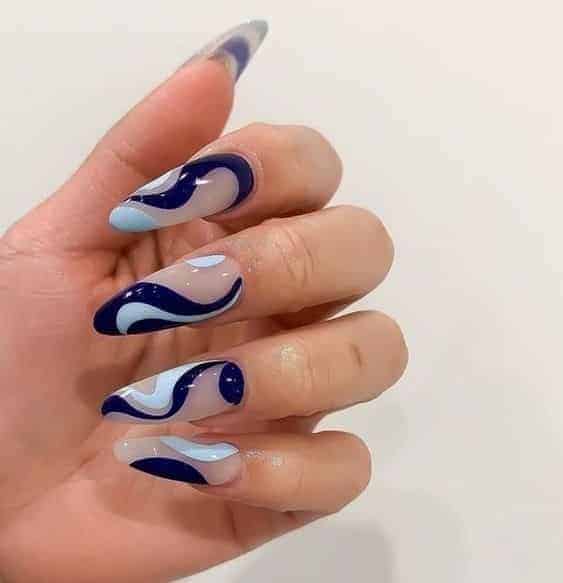
19 – Swirl Style
18 – Zig Zag Stripes Pattern
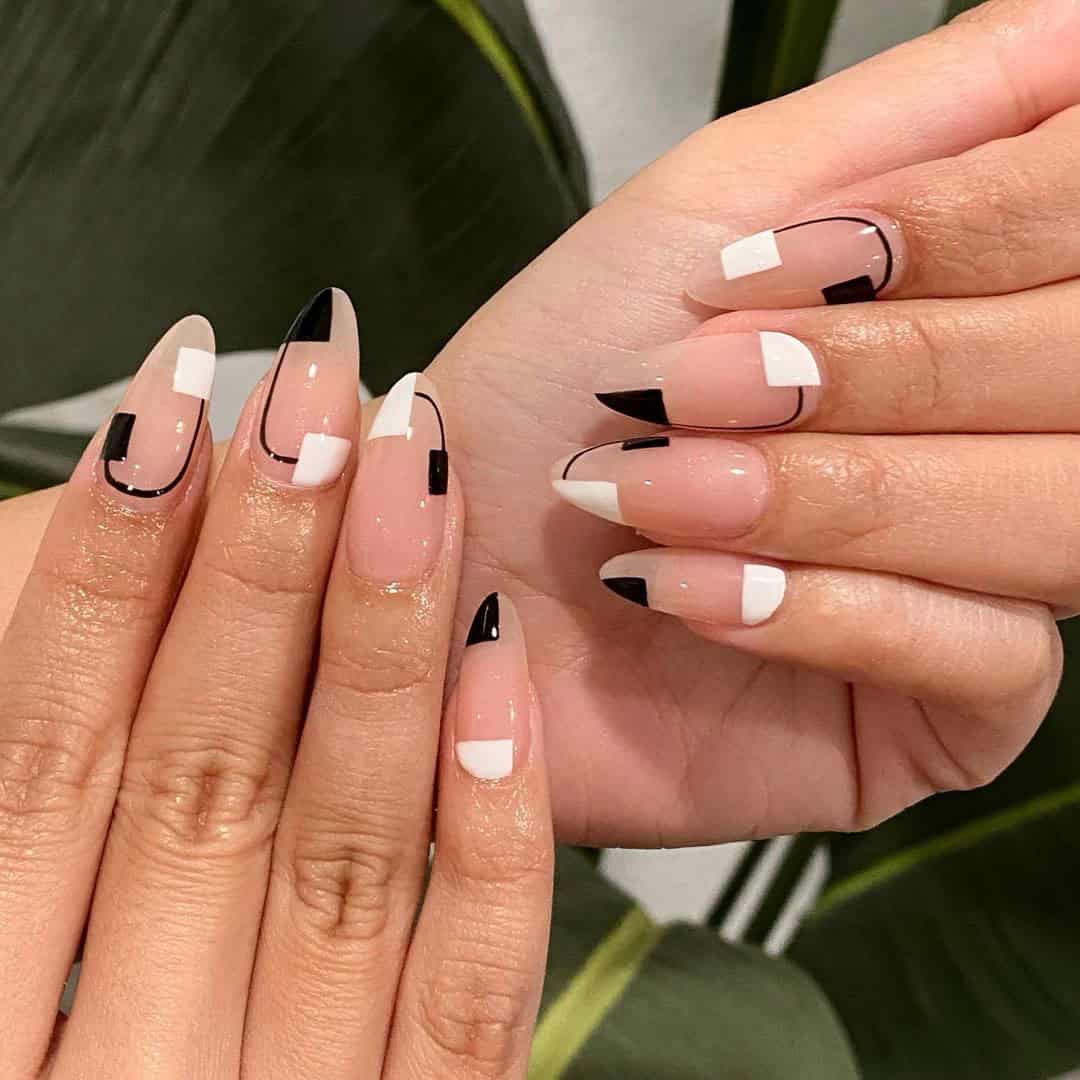
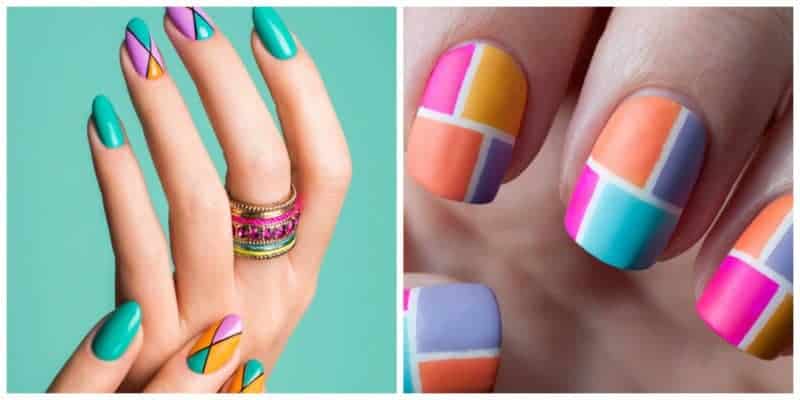
17 – Colorblocking Nail Patterns
16 – Chic Maroon Nails

15 – Classy Dip Powder Black Nails
14 – Tri Color Nails
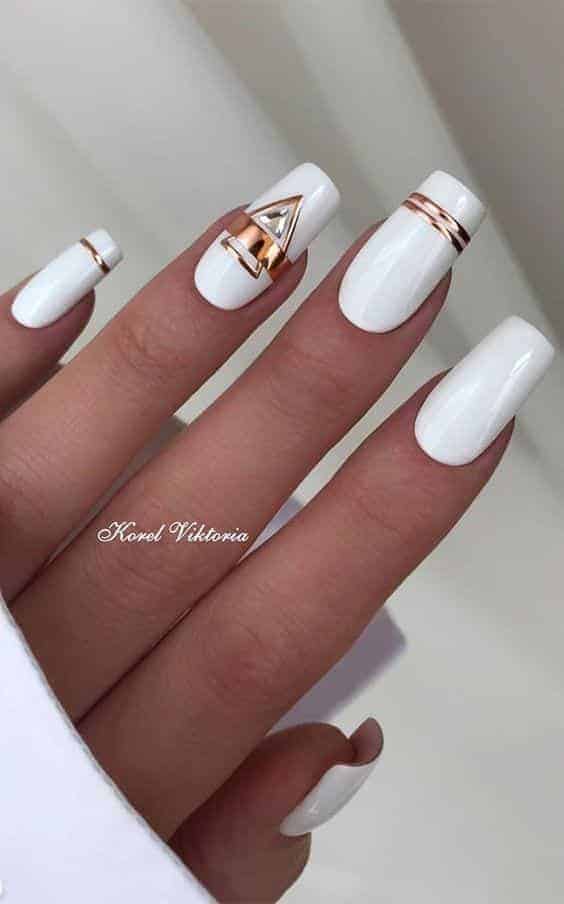
13 – White Nails With Gold Stripes
12 – Funky Nails You Must Try This Spring
11 – Rose Gold Nail Art Ideas
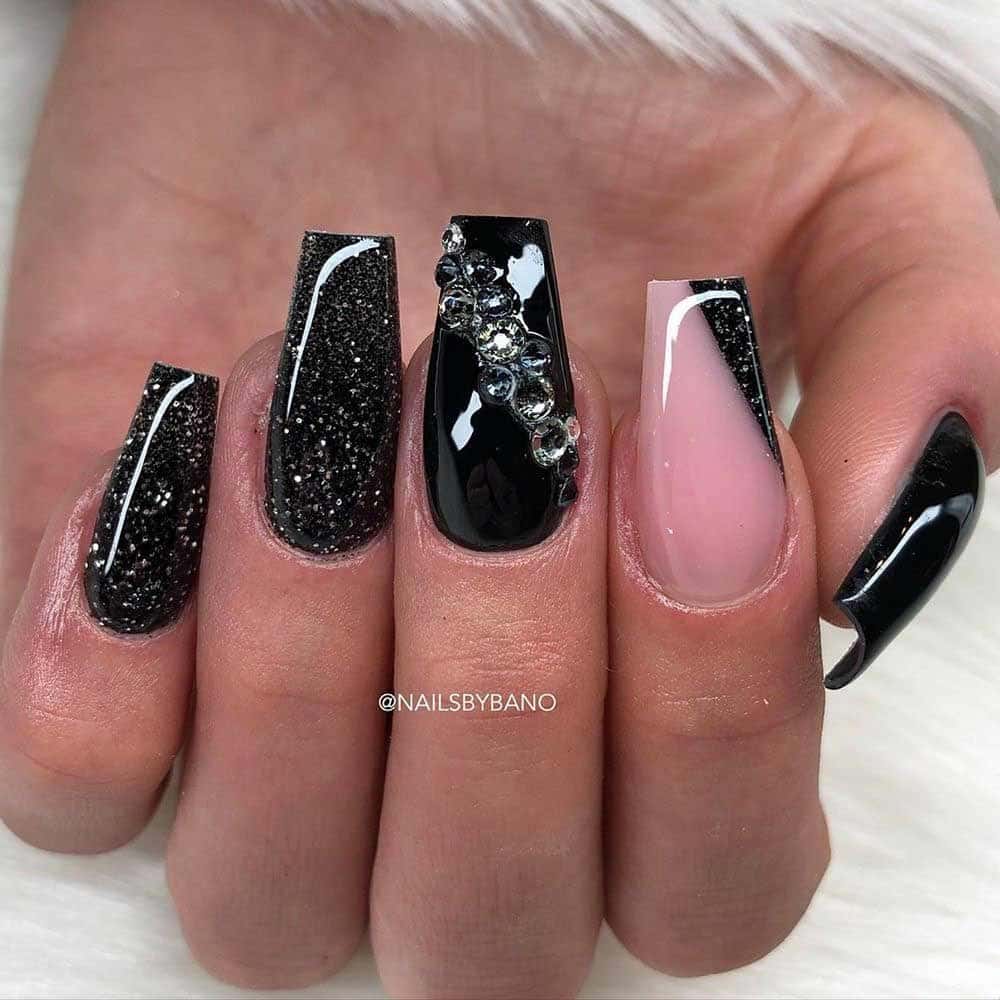
10 – Glitter Nails With Crystals
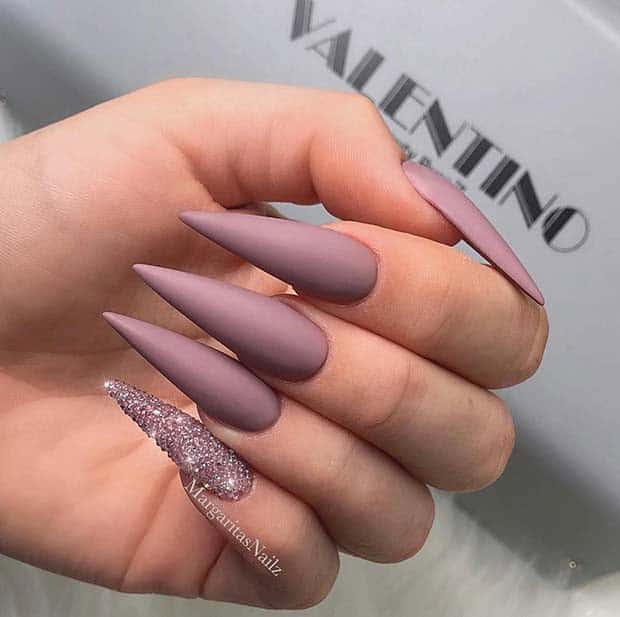
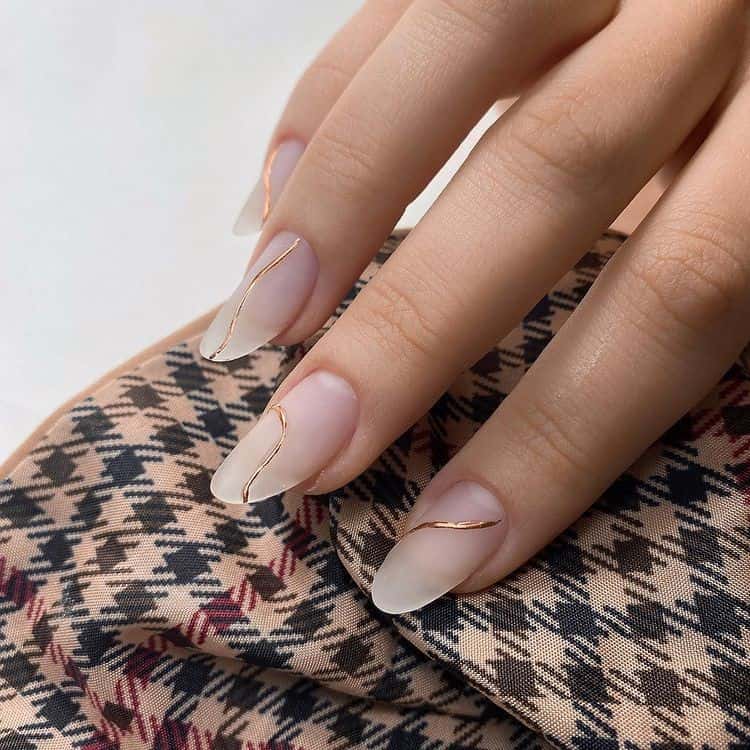
9 – Sophiscated Nude Manicure For Long Nails
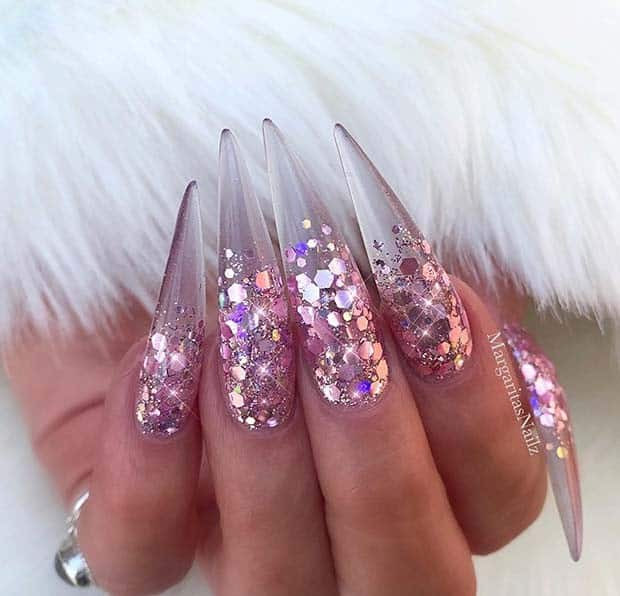
8 – Stunning Glitter Ombre
7 – Fall Nails Inspiration
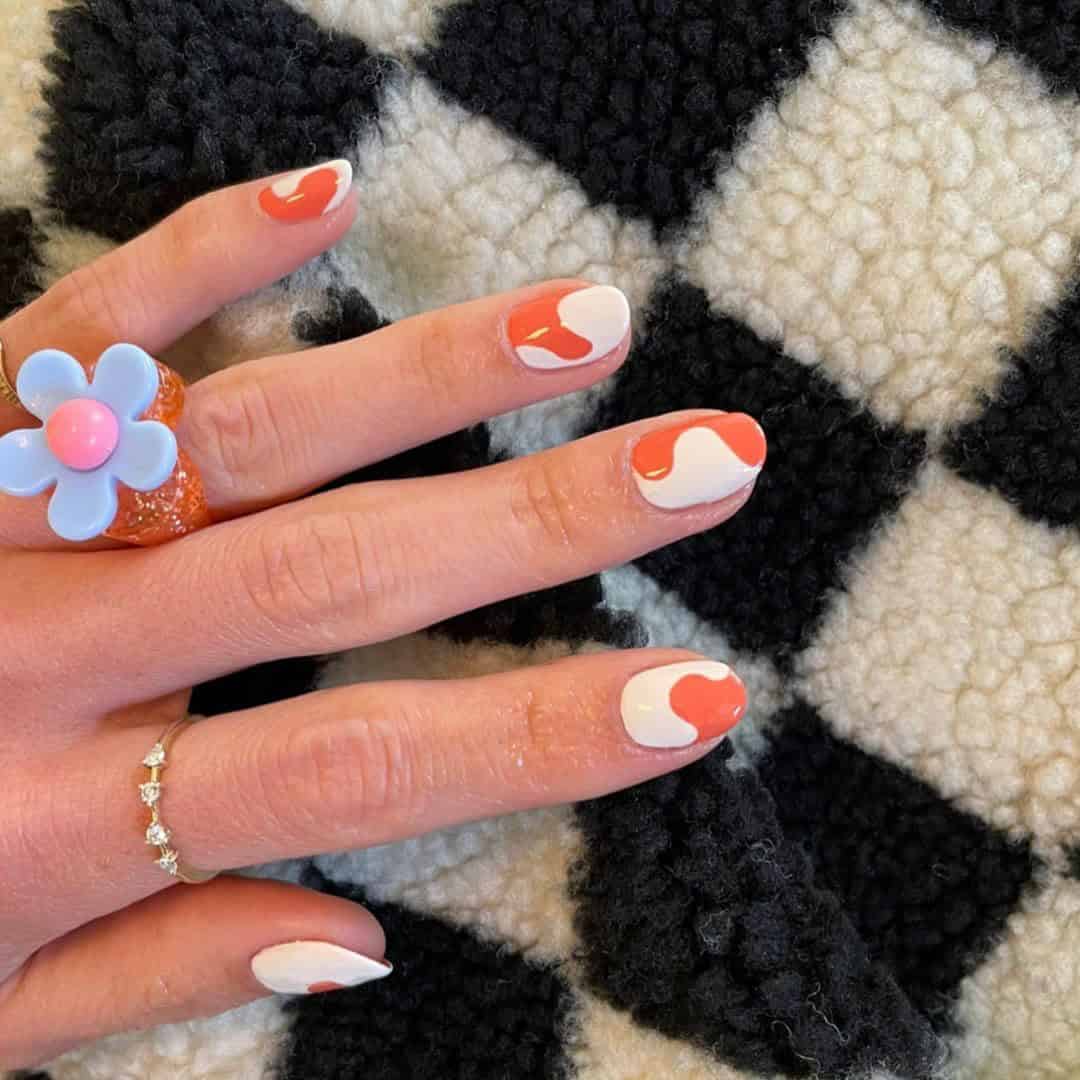
6 – Melting Creamsicle Inspired Nails
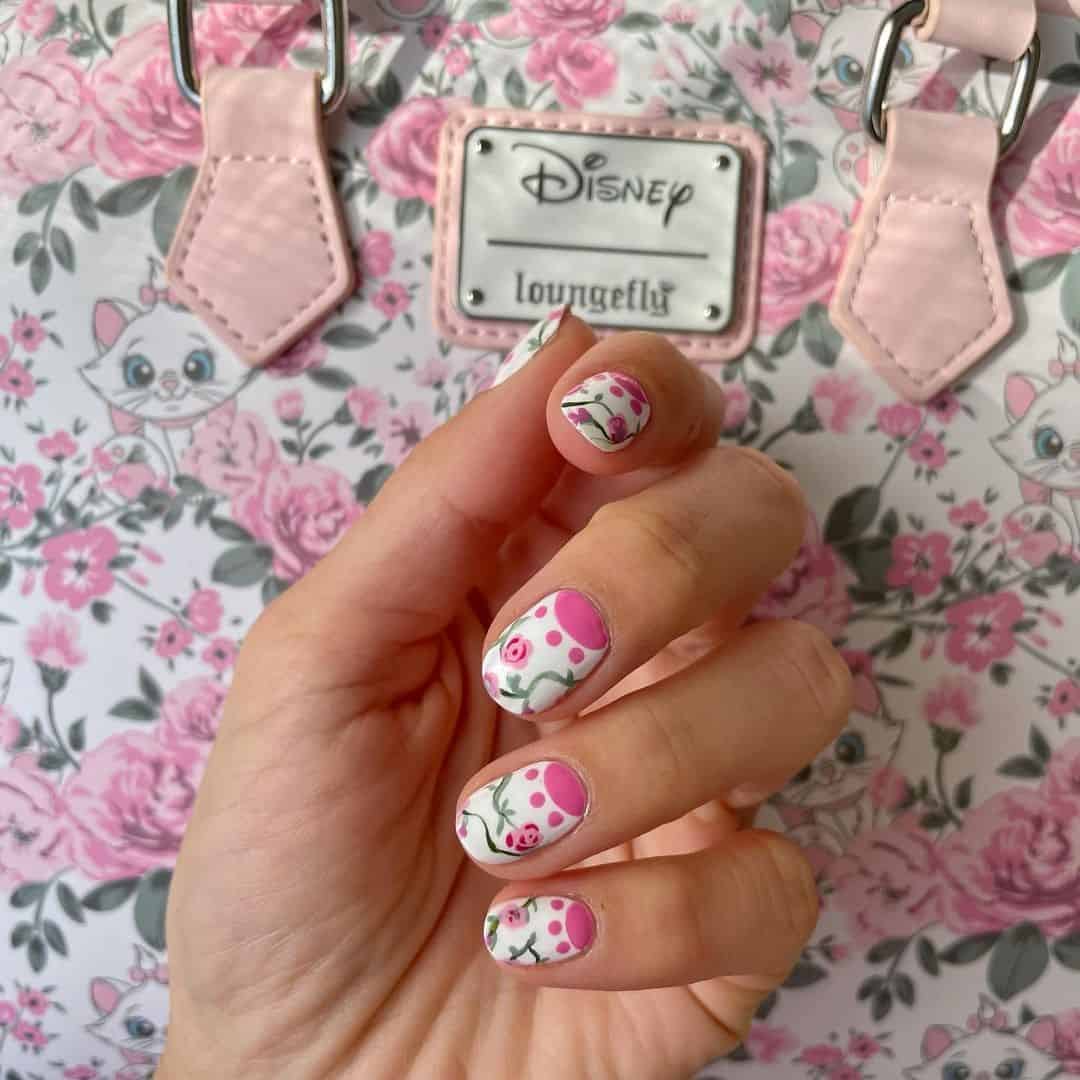
5 – Paw Print With Baby Flowers
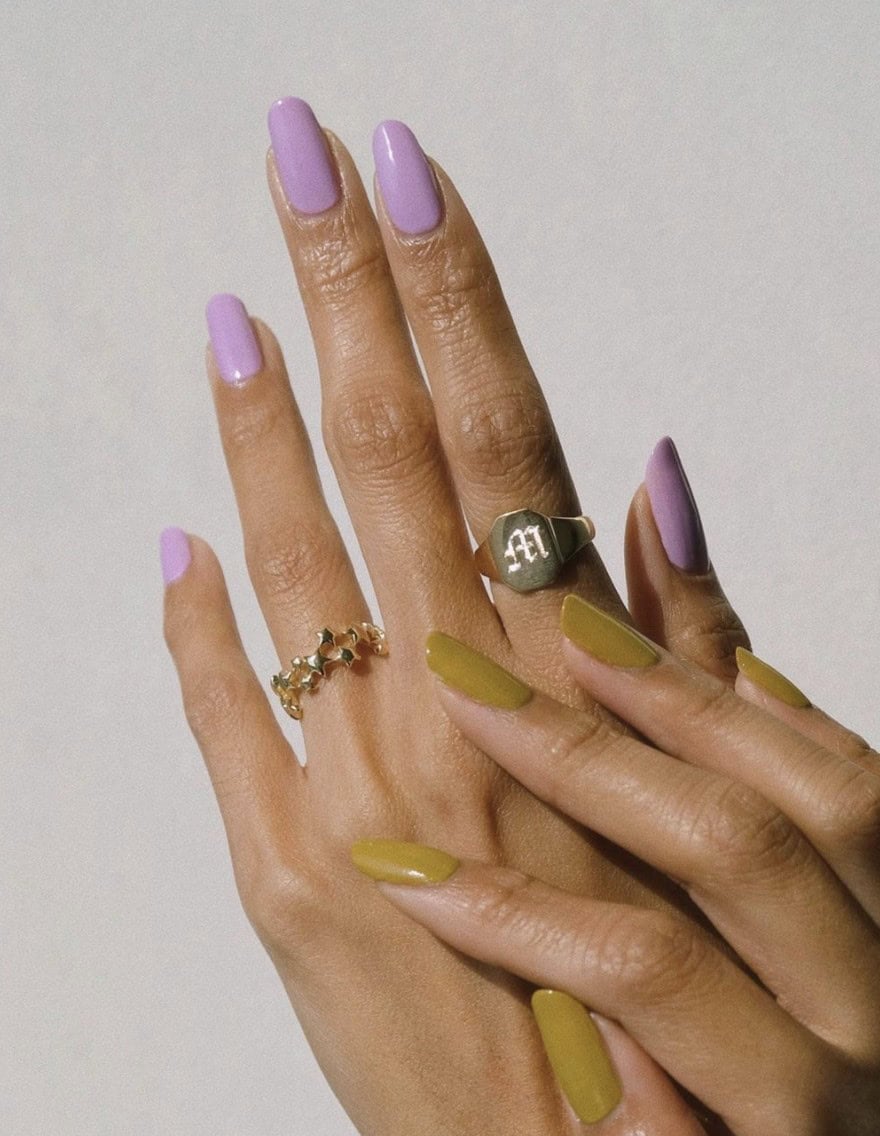
4 – Mismatched Hands
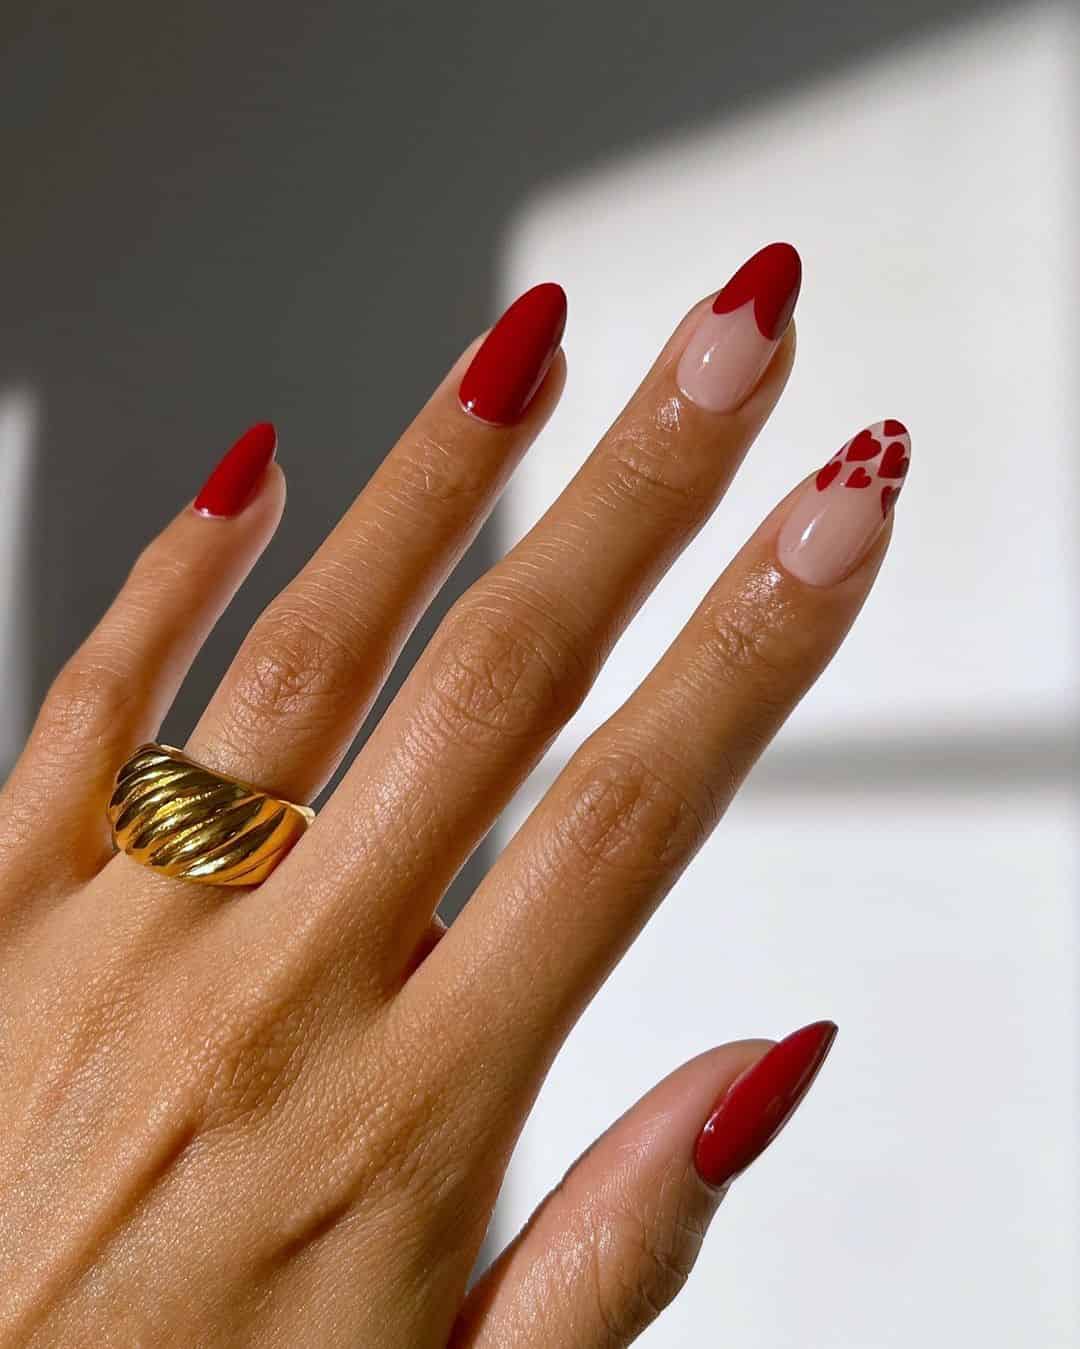
3 – V-Day Special Nails
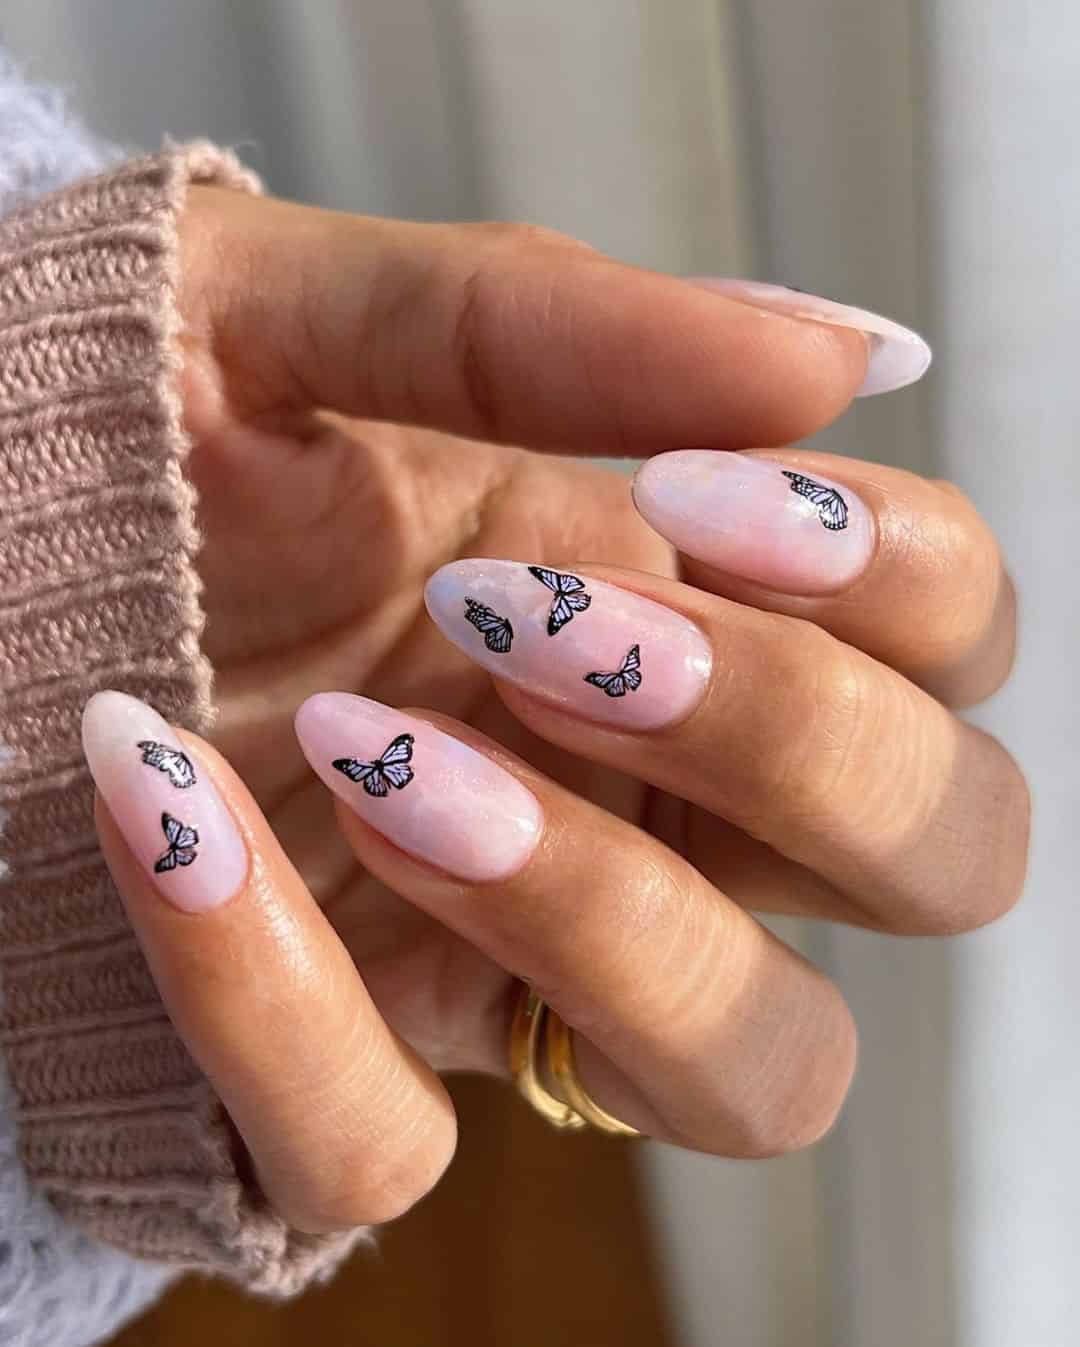
2 – Cotton Candy And Butterflies
1 – Minimal Nails
Frequently Asked Questions
Q: What are the latest trends in nails for 2022?
This year, the beauty world is buzzing with a variety of trendy nail styles that cater to diverse tastes and preferences. Some of the most sought-after looks include blue-tinged periwinkle hues, soft pastel shades, and vibrant pink tones. Additionally, very peri polish, timeless classic red, and metallic gold foil designs are also gaining popularity.
Furthermore, velvet-textured nails, understated minimal styles, and statement-printed nails featuring animal, floral, or abstract motifs have taken the beauty scene by storm.
Q: What’s the best way to keep rhinestones on the nail so they won’t fall off as easily?
To achieve a stunning rhinestone manicure, begin by selecting a suitable gel base. Apply a small amount of gel – just a few dots – to the area of the nail where you want to place the rhinestones. Next, use your chosen rhinestone picker tool to place the rhinestones onto the gel-covered section of the nail. Once all the rhinestones are in place, set them by allowing the gel to dry for approximately 60 seconds.
To secure the rhinestones further, apply a thin layer of topcoat gel to the majority of the nail surface – excluding the areas where you’ve placed the rhinestones. Note that it’s not necessary to coat over the rhinestones themselves, as this can diminish their sparkle. However, it’s crucial to seal the edges with a small brush or detailer brush to prevent lifting and ensure a smooth finish. To achieve this, carefully line the edges of each stone using the detailer brush.
Finally, apply another thin layer of topcoat gel to even out the finish, followed by a 60-second curing time. With these steps complete, your rhinestone manicure is ready to shine.
Q: Why do I get bubbles when I paint my nails?
There are several factors contributing to this issue. One reason is the application technique itself – applying thick layers without allowing each coat to dry properly can lead to uneven coverage. Another possibility is that your nail polish is subpar in terms of quality, consistency, or age. To avoid these problems, it’s essential to apply nail polish in thin, even layers.
To achieve this, start by dipping your brush into the color and wiping off any excess polish on the rim before applying it to your nails. Additionally, investing in a high-quality nail polish can make all the difference in terms of performance and longevity.
Q: Should nails and toes match?
Nail art enthusiasts, rejoice! The trend of mismatched manicures is all the rage, but don’t worry if you’re not ready to fully commit to the look. A more subtle approach is to choose two or three colors that complement each other, creating a unique yet cohesive look. And why stop at your hands? You can extend the theme to your toes as well, opting for similar hues or contrasting colors for a playful touch.